Part 1 – Microsoft Dynamics Development Preview
NAV
Microsoft released during Christmas an Azure Virtual Machine where you can play around with the new Development Environment. In the coming months I will blog about the new NAV development environment.
In this first post you will find information about Azure subscription and how you can create your first app.
HAVE FUN AND STAY TUNED!
If you want to keep up with the latest from Microsoft you need to have an Azure subscription. Information can be found on: https://account.windowsazure.com/signup?showCatalog=True. You can start with a free subscription.
SO WELCOME IN THE AZURE WORLD!
The developer preview will be updated on a regular basis. Be aware that it is a preview so things you make can be broken in a next version. Follow the NAV team blog to see if a new version is available: https://blogs.msdn.microsoft.com/nav/category/announcements. If you run into any issues, please log them on GitHub project: https://blogs.msdn.microsoft.com/nav/category/announcements/
SO IT IS TIME TO GET STARTED!
The new Azure Virtual Machine (VM) can be created via http://aka.ms/navdeveloperpreview and provide the parameters to create it. The deployment will start and will take some time to finish.
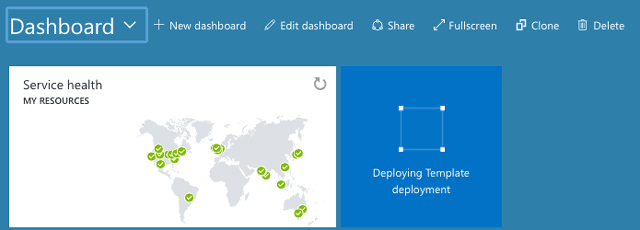
In the end, you will see the VM with additional information.
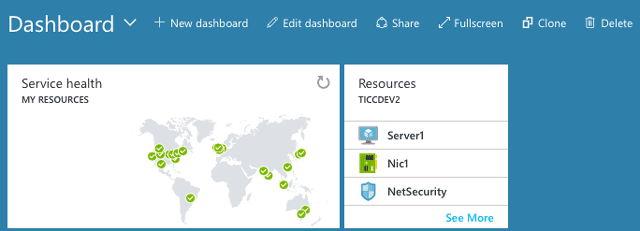
When you click on Server1, the VM information will be displayed
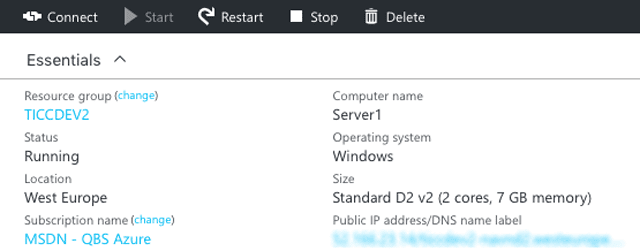
Make sure you stop the VM in case you don’t require this.Once stopped (and thus dislocated) the hours won’t be invoiced by Microsoft.
Start a remote desktop application and connect to the virtual machine by using the DNS name label. When you stop / start your VM a new IP address will be provided, so connecting via the public IP address will work only once.
SO IT IS TIME TO GET STARTED !
Start the new Development Environment called Visual Studio Code
If you compare the old (left) against the new (right) one, there are not that many changes 🙂
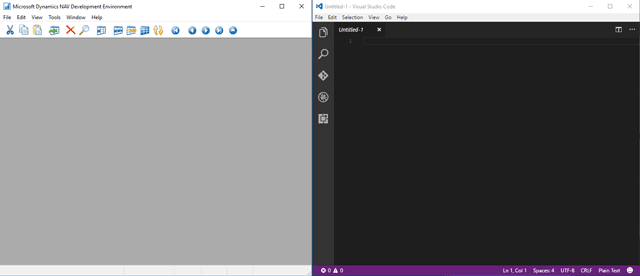
There is no Object Designer anymore, so you can start directly with coding. NB: Don’t type too fast as most of the information you want to see can be inputted via IntelliSense.
First you need to select a folder to store your files.

SO START CODING !
Create a file with the extension .al. This is a pre-requisite for NAV IntelliSense to work !
It is straight forward to create a new file newtables.al and to create your first table
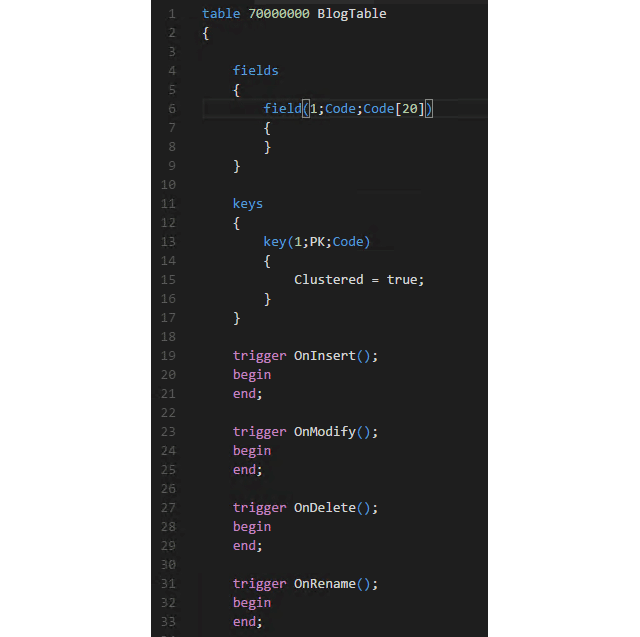
Compiling [F5] results in an error message, when you check the created app.json you are can see what issues may occur.
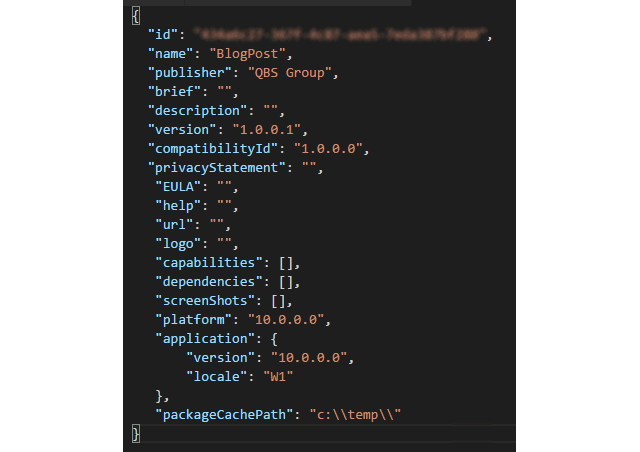
The installed NAV version is US, so the locale should be US.
As this is an addition to the standard NAV application, the standard navx files should be in C:\TEMP.

When everything goes as it should press [F5] to publish your app.


