Part 4 Microsoft Dynamics Development Preview
NAV
Tech
Microsoft released during last Christmas an Azure Virtual Machine where you can play around with the new Development Environment.
It is the fourth blog about the development environment. As this one does not rely on previous created code, you can start with this one. When the new NAV development tools are completely new, then please start with the first blog.
This blog will describe how you can upgrade your existing objects to be used in the new development environment. To upgrade your code, the June update is required. Additional information about this update can be found on the NAV Team Blog.
There are multiple ways how you can work with the new development environment:
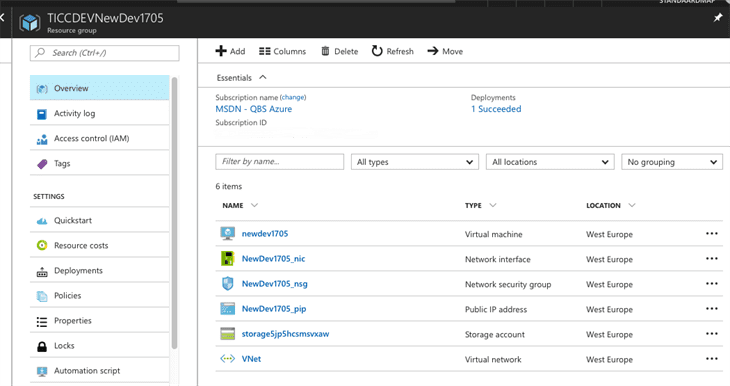
1. Via Azure
If you have already installed a previous preview version, please remove complete Azure resource group, and create a new VM.
The deployment will start and it will take some time to finish. In the end, you will see the VM with additional stuff.
2. Local
Eric Wauters aka Waldo created a blog post how you can install the new development on your local machine.
So it is up to you how you continue.
In the NAV team blog post of June there is some information on how you can upgrade your code.
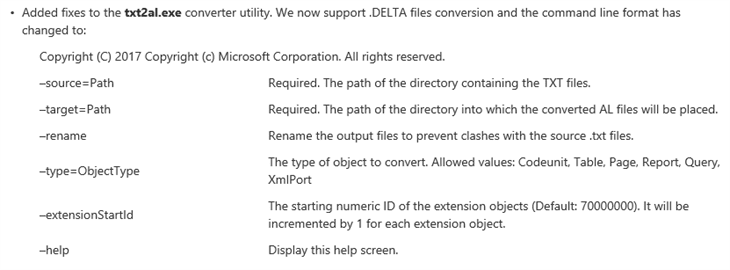
To get things going I need some files from a current development system. I choose to use a small piece of our internal system and opted for our Quattro subscription system as it has almost no impact on standard NAV.
The following objects need to be upgraded

As this is only a part of our internal system, I copied these files to standard NAV database and compile them, of course there is some interaction with standard NAV.

On MSDN you can find an item on how to upgrade your code via the TXT2ALtool.
The first step is to export the NAV objects in a clean format. The only way this can be done is via the command line, the command I used:
finsql.exe
Command=ExportToNewSyntax,
File=c:\temp\exportedObjects.txt,
Database=”Demo Database NAV (10-0)”, ServerName=<servername>\NAVDEMO,
Filter=Version List=*IPS*
That gave me the objects in a well-known but clean format.
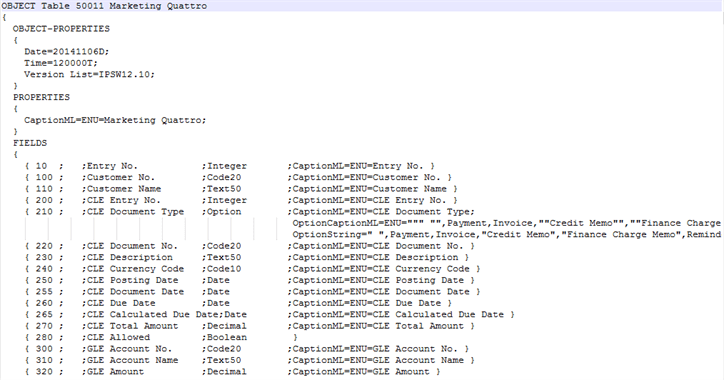
Even the extension (version 1) codeunit is converted 🙂
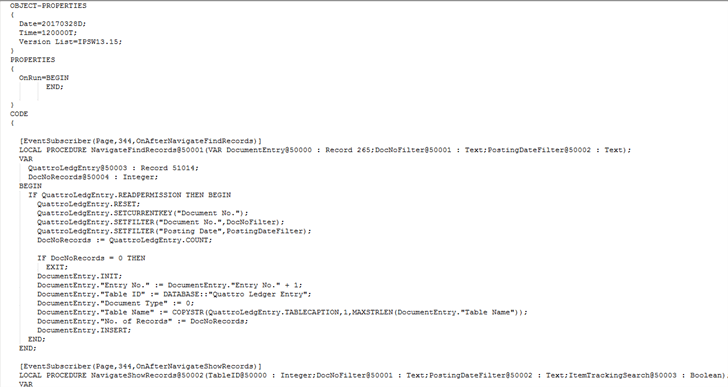
Next step is to create .DELTA files, as these are all new objects, no files should be located in the ORIGINAL directory. The above created file should be copied to the MODIFIED directory.
When the PowerShell command Compare-NAVApplicationObject is executed the DELTA files are created.
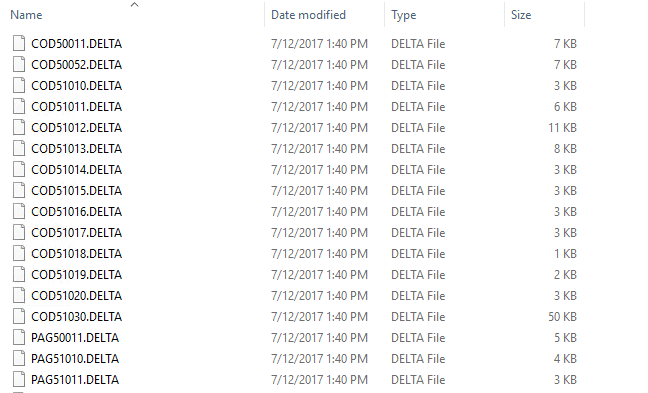
Now it is time to transform the objects to AL objects. Copy the created obect to the directory c:\project\al_original.
This conversion can be done with the TXT2AL tool, execute the following command via the command line.
TXT2AL –source=c:\project\al_original –target=c:\project\al_ready –extensionstartid=71000000.
The files in the al_ready directory should look like this. Ready to be used in the new development environment.

And what about the standard NAV objects that didn’t compile? Well, maybe it is time for redesign? If you don’t do it now, you will never do it.


