Part 2 – Microsoft Dynamics Development Preview
Microsoft released during last Christmas an Azure Virtual Machine where you can play around with the new Development Environment.
This is the second blog about the development environment. If you want to know how to create your environment, please read my first blog on this subject.
This blog will describe the way you can create new tables and pages.
For this blog I have used the January update. Additional information about this update can be found on the NAV Team Blog.
To get started I removed a complete resource group, and create a new VM.
You can download a new VM here.
The deployment will start and will take some time to finish. In the end, you will see the VM with additional stuff.
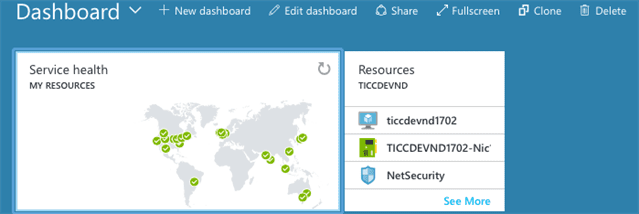
Start an RDP session and open Visual Studio Code.
To create a new package execute the following steps:
- Create a new folder
- Select this folder in Visual Studio Code
- Create a new file called “HotelSetup.al”
- Create app.json file
Hit [F5] and update the app.json file. Store it on a safe place (preferably in a source control system like TFS or GIT) because the ID is unique and should be used throughout the life cycle of your product.
Update the development environment (the list is displayed in the top of the window)
- Create launch.json file
Hit [F5] again and the launch.json file will be created - As you will see in the output window the empty package file is created

Our package is ready and now it is time to add some code. As you saw I created a new file hotelsetup.al this should contain a NAV setup file.
In the old development environment this was easy:
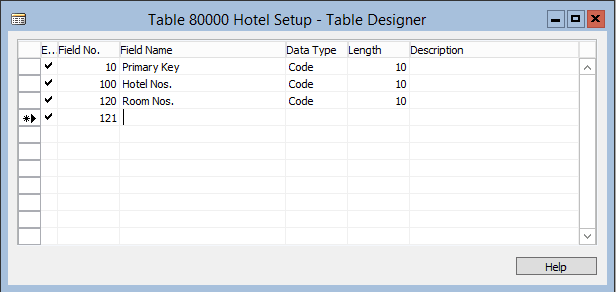
Well in the new development, it is also quite simple. When you type ‘ttable’ and press enter the table snippet will be executed and the table framework will be there.

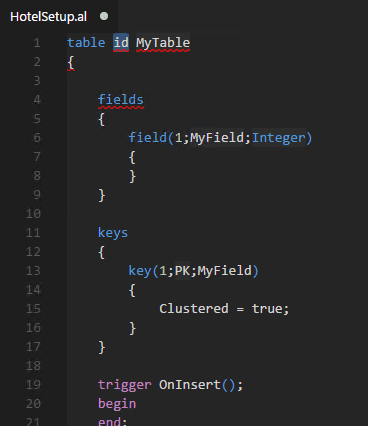
Now, it is up to you to create the code, there is not much changed here, it is plain and simple AL as you are used to.
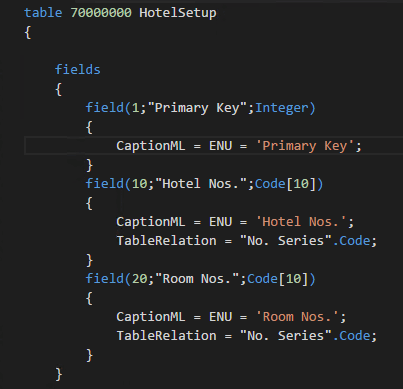
I gave the table a number and name, added the fields and update the primary key information.
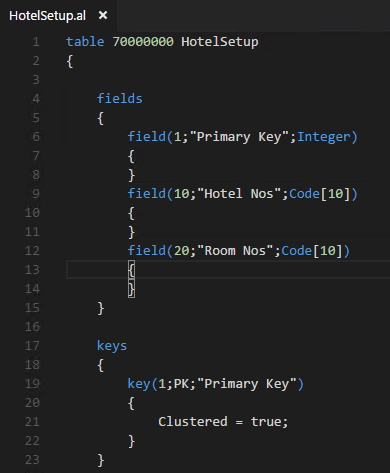
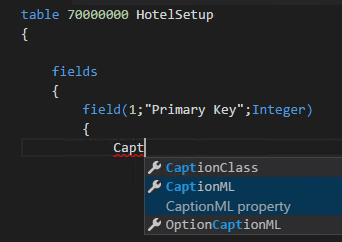
Next step is to create the properties like Caption ML and table relations. Just start typing and you will see the snippets.
At the end you will have a perfect created table and you can press [F5] to publish your app.
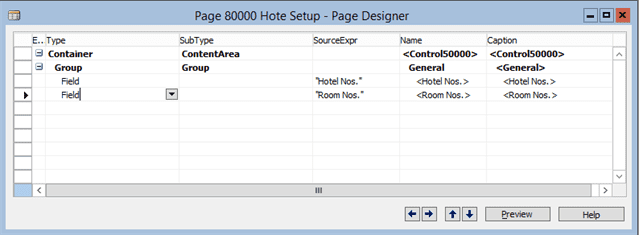
Next step is to create the setup page. In the old development environment it is done via the page wizard.
In the new development environment use the ‘tpage’ snippet to create a page framework.
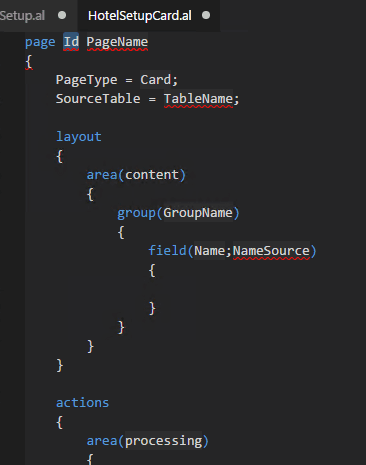
It takes some time, but in the end you will get the job done.
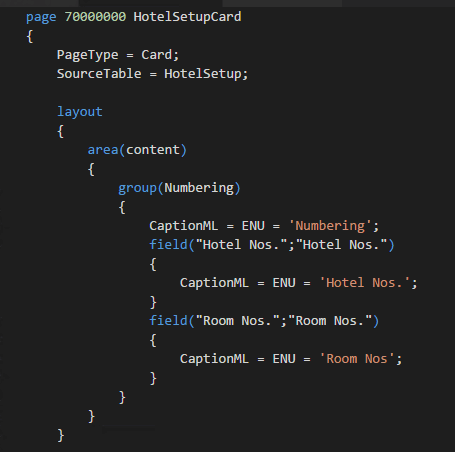
So finished?
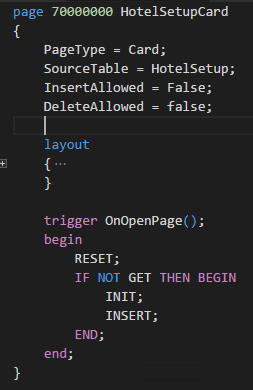
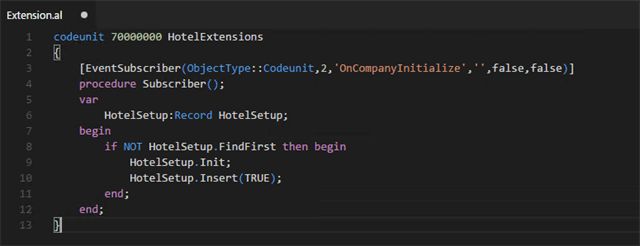
Not really, it is a setup table. You need to add code to the OnOpenPage trigger and to the Company Initialization codeunit.
The OnOpenPage trigger is the same as you are used to.
And now the fun part: make an extension to Codeunit 2 Company Initialize.
This is only possible in the January version!
Hit [F5] to publish the app and you are done!


